
Woodcarving 101, another practical class
You got to love the Victorians, don’t you. They had such a quirky sense of style, or keen sense of humour…which ever way you look at it. It seems to be a combination of ornamentation and colour and pattern and import-anything to the max and then push it a step over the edge and beyond! Like grab anything and everything and especially if it’s imported and expensive, and throw it together, and there you are! 😀

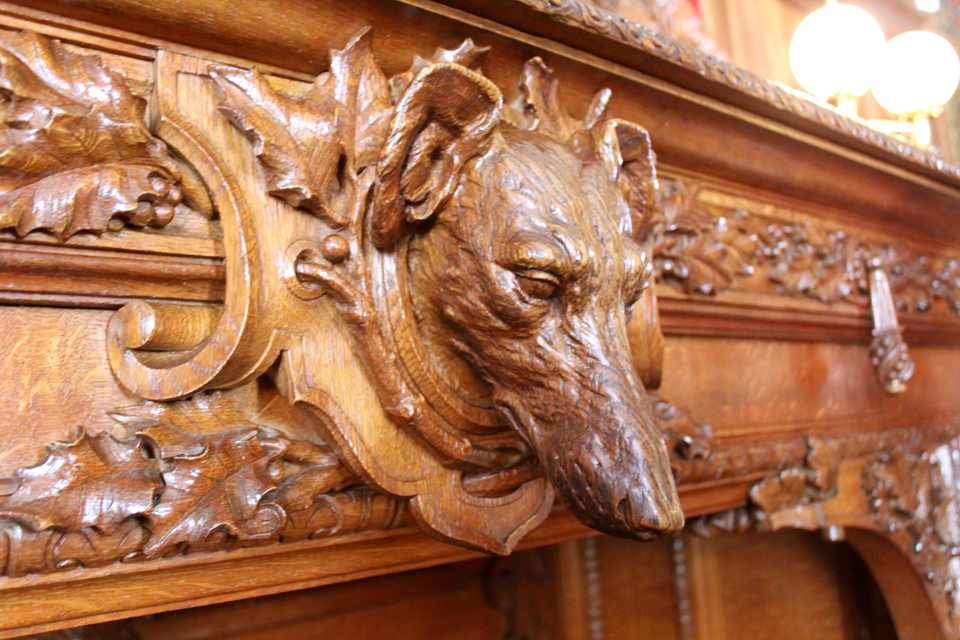
But the heart of ornamental Victorian fancy was probably started a century before, with one man, Grindling Gibbons, (1648-1721), and his contribution to woodcarving.
I’m such a big fan of art and learning new things and I’ve always admired wood carving.
So when the opportunity came up to take a practical class I jumped at it.
You know, I love the way that some carvings look as though they are floating above the wood beneath. You know what I mean? Look at the holly leaves above. Yeah, like that. That’s what I thought I wanted to try to learn how to do, (in an hour and half!!!). I’ve has a couple requests to show you the practical class in woodcarving, but I had to borrow a friend’s chisels to finish my piece, so sorry it’s coming in so late after Art in Action, but here it is.
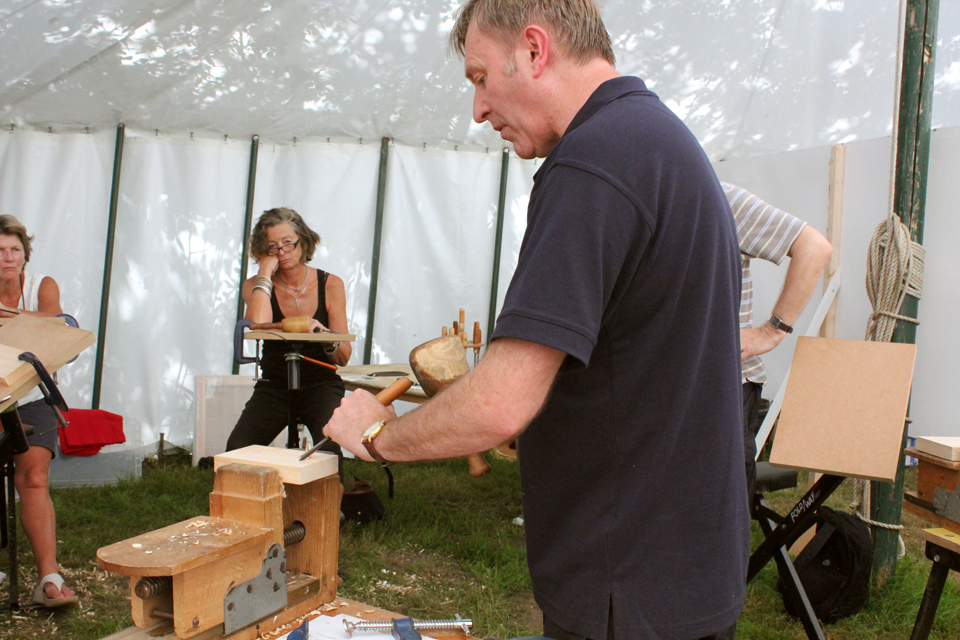
The practical class was being offered by a master woodcarver and he brought tools from Ryker Hardware for the students to use. You can basically see what you need: a G clamps, mallets, chisels, and a wood vice. And, of course, wood for carving.

When building a relationship with tools which are capable of slicing thru wood, it’s probably the best idea in the world to learn how to use the tools safely. Specialty tools are important for specific jobs. A carpenter’s axe (these axes are best if you’re doing any woodworking) isn’t the same thing as a splitting or felling axe, and one shouldn’t use a common garden splitting axe for woodworking.
The most important rule to remember is both hands on the tools at all times. This is relatively easy if you’re using a chisel in one hand and a mallet in the other, but not so easy if you’re only using the chisel, because, if you’re anything like me, the temptation to move some wood shavings off your piece, or to readjust the piece under the clamp, while you’re working on it is overwhelming. DON’T DO IT!
Always clamp the piece of wood either to your work surface using a G clamp, or into a vice.
This is the hand hold you want to have on your chisel. Chisel away from you, from your body/arms/legs at all times.
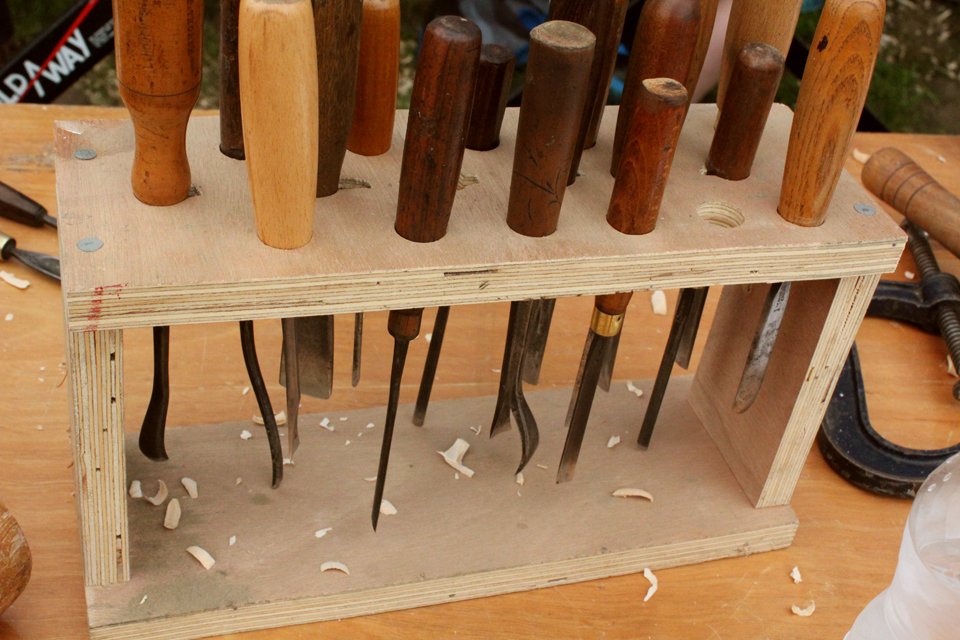
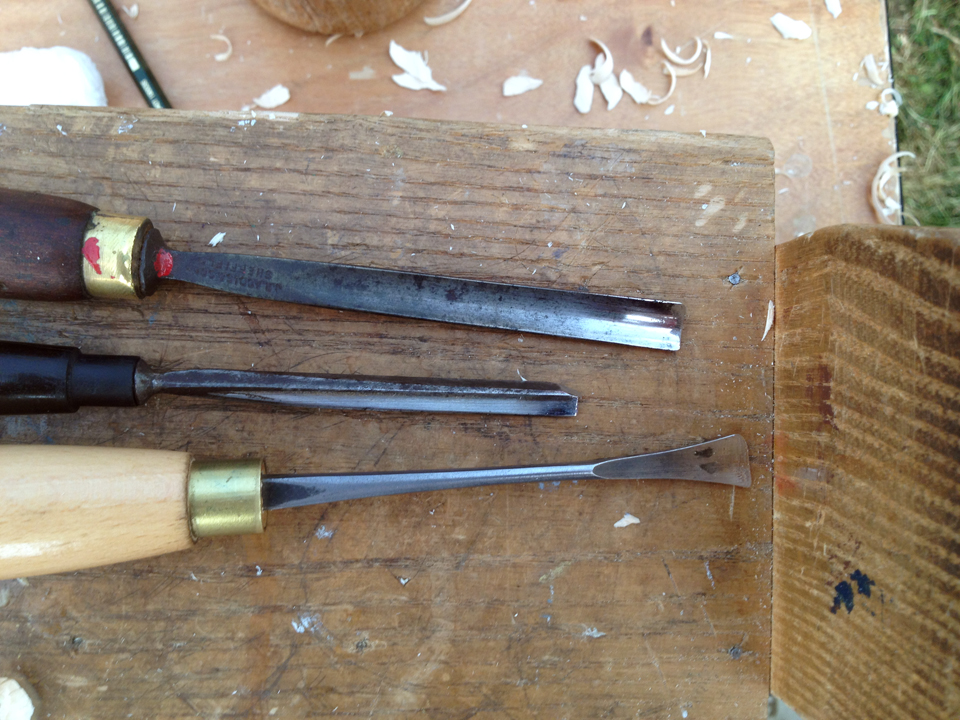
Chisels come in all sorts of shapes and sizes. As a matter of fact, there used to only be four types of chisels and then the Victorians discovered woodcarving and suddenly dozens of different chisels were in circulation. But actually, you only need about four. They are, a small V wedge for making fine lines, two U shapes (a small and a large one) for gouging out the wood you want to get rid of, and a fishtailed or straight ended one for undercutting or making straight cuts.
Also, chisels with a good steel are a bit on the pricey side, so it’s a good idea to take care of them and keep them in holders so they don’t clank together and dull. It’s also a good idea to take care not to accidentally hit the metal vice with your chisels.
The wood we used was linden. This is a soft wood and very easy to cut. I hope, if you try this, that you find a lovely piece of linden as your first woodcarving.
I drew a simple leaf design.
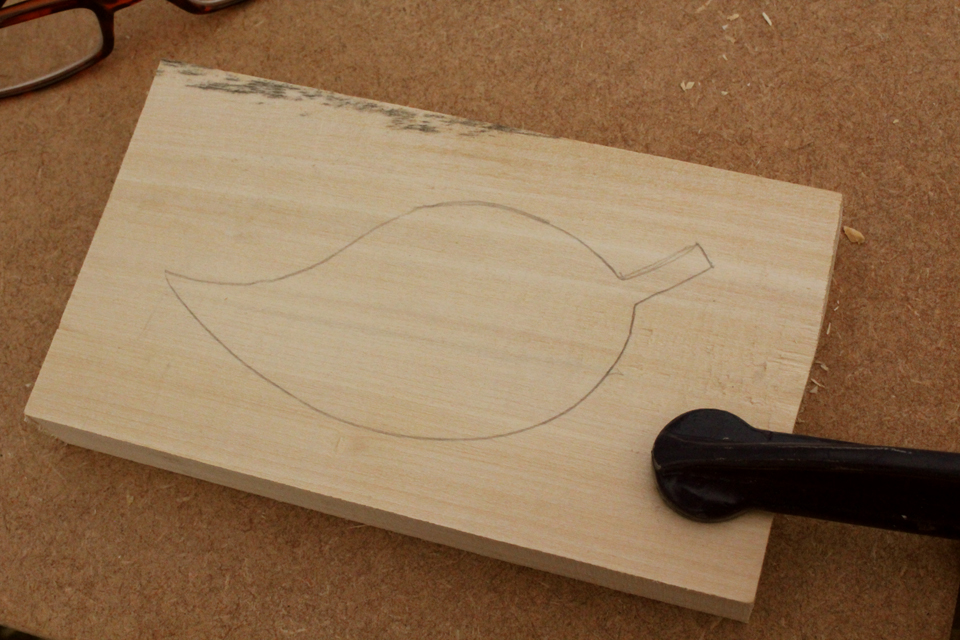
With woodcarving, much like lino or stamps, it’s important to cut on the outside of your drawn line to keep your design the shape you intended. A V shaped chisel makes the best first line in the wood and it’s easy to control.
I had a little trouble at first not burying the chisel in too deep, but soon got the hang of it. If that should happen, just come at the line from the other direction. That will cut the too-deep gauge away and you can crary on.
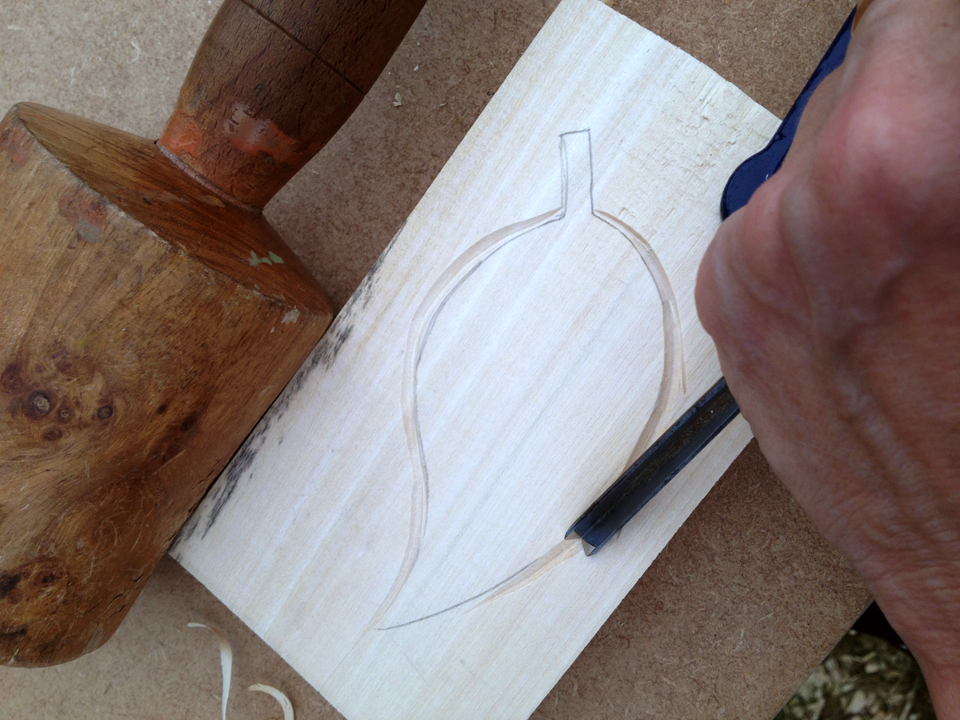
Here is my initial first cut line and so far I’ve only used the V shaped chisel.
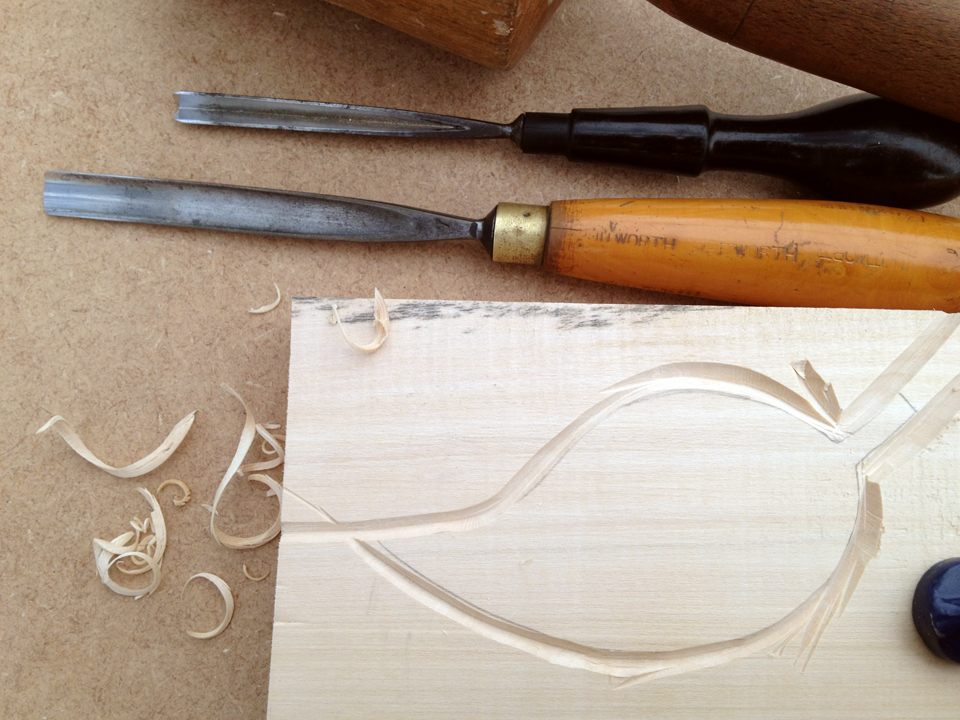
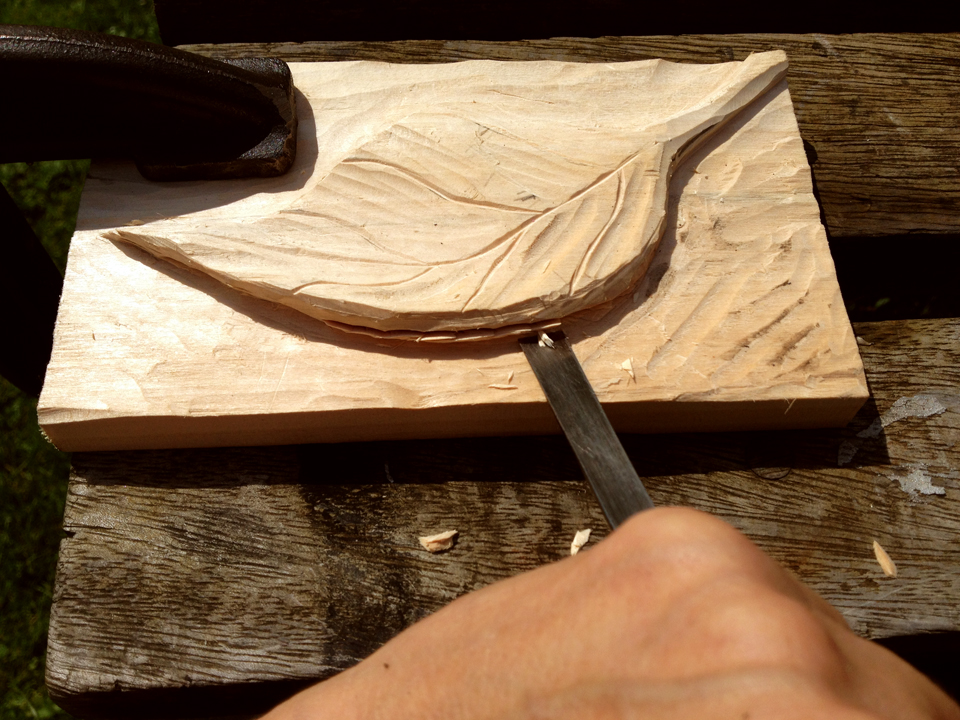
The next part is pretty monotonous. With the large U shaped chisel, I cut away the outside-of-my-design wood quite substantially. This took the longest time, and, I soon figured out that the linden wood was so easy to carve that I put the mallet down and simply dug away at the wood holding the chisel with both hands and using a bit of extra pressure. This gave me (and, by now, my shaky, weak hands) a break and more control.

I kept going down into the wood, further and further until I was happy with the relief of the leaf.

Now the class was only 10 minutes from ending and I was concerned with learning the next and final steps and so I didn’t stop to take photos. (My bad)
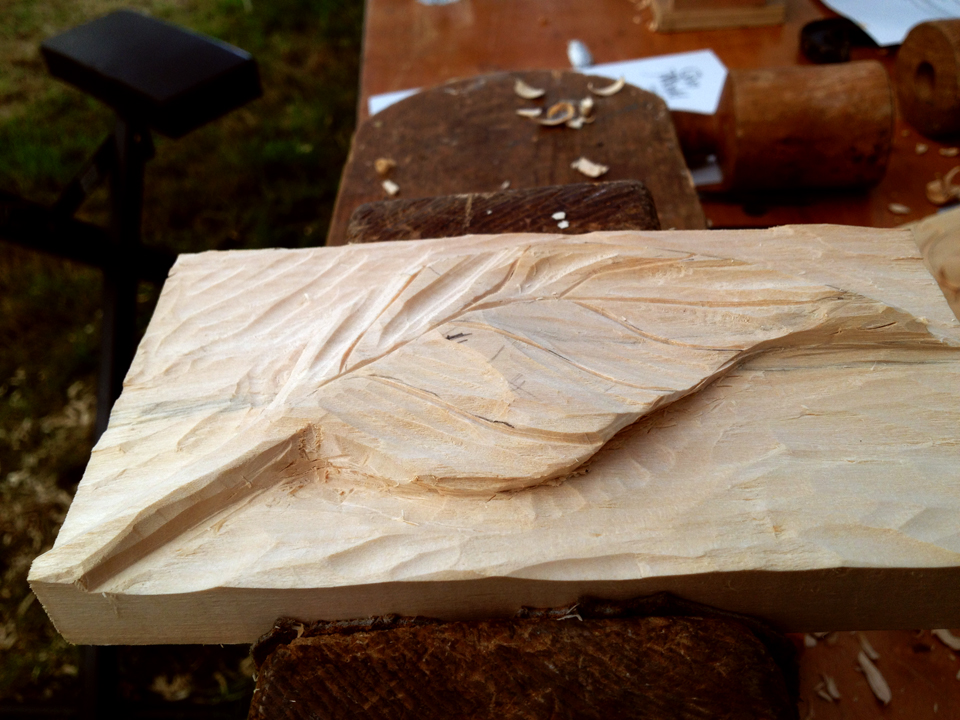
But the next step was to start giving the leaf a real-life contour, and so I drew some contour lines on the leaf; kind of like contour lines on a map might look like, and started trying to imagine and cut away some valleys and hills on the leaf. At this point I must admit that having a leaf there to look at would have been the best thing, but as it is, I imagined how it might bend and lay and tried for that.
Just as the class ended, I asked the instructor to show me quickly how to undercut my leaf so I could continue and finish it at home, and he did. You can just see the beginning of an undercut on my design.
Here is a closeup of the three chisels I used to get this far in this class, in one and half hours.
So home at West Cottage, and I borrowed my friend William’s chisels…

…and started to undercut the leaf. William doesn’t have a fishtailed chisel, but has a flattish one I could use. You can see how I cut into the side of the leaf and to an angle so it goes underneath.

The next cut comes in from the underneath to (hopefully) meet up with the top cut and take a wedge of wood out. I felt fairly successful with this, but had a problem not really knowing how to handle the tip of my leaf, and so took extra care in that area because it seemed pretty fragile.
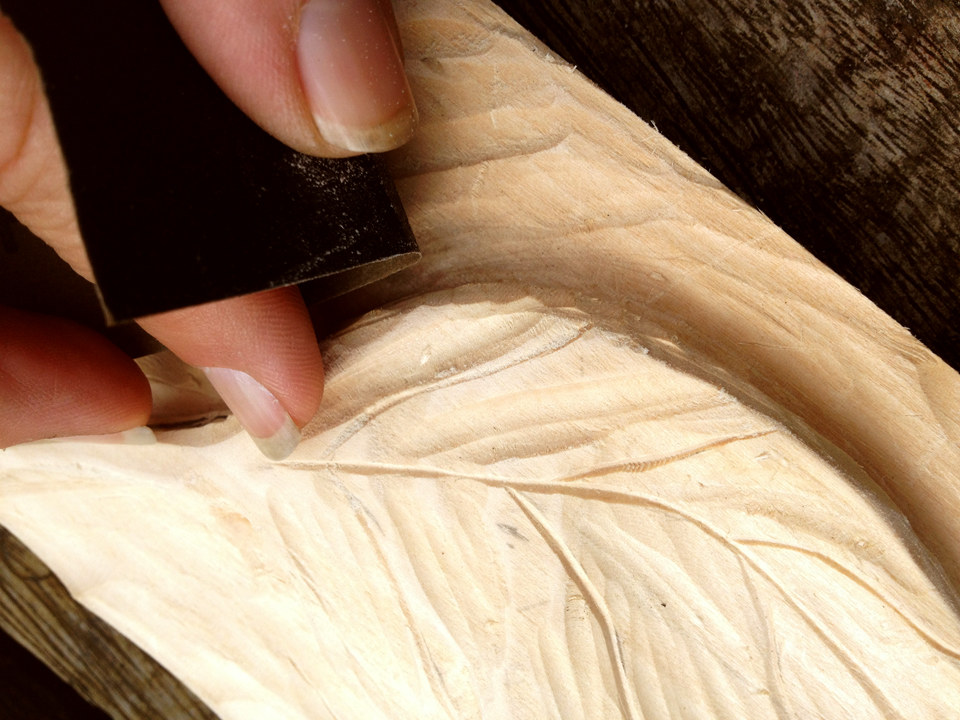
When I thought I did the best job I could, I grabbed a little bit of sandpaper and gave my leaf a brisk sanding. I know I could sand it completely smooth, but I liked the hand-made feel of the chisel marks.
And here it is, my completed wood carving. It’s not a Gibbons…lol…but I’m pretty proud of it.
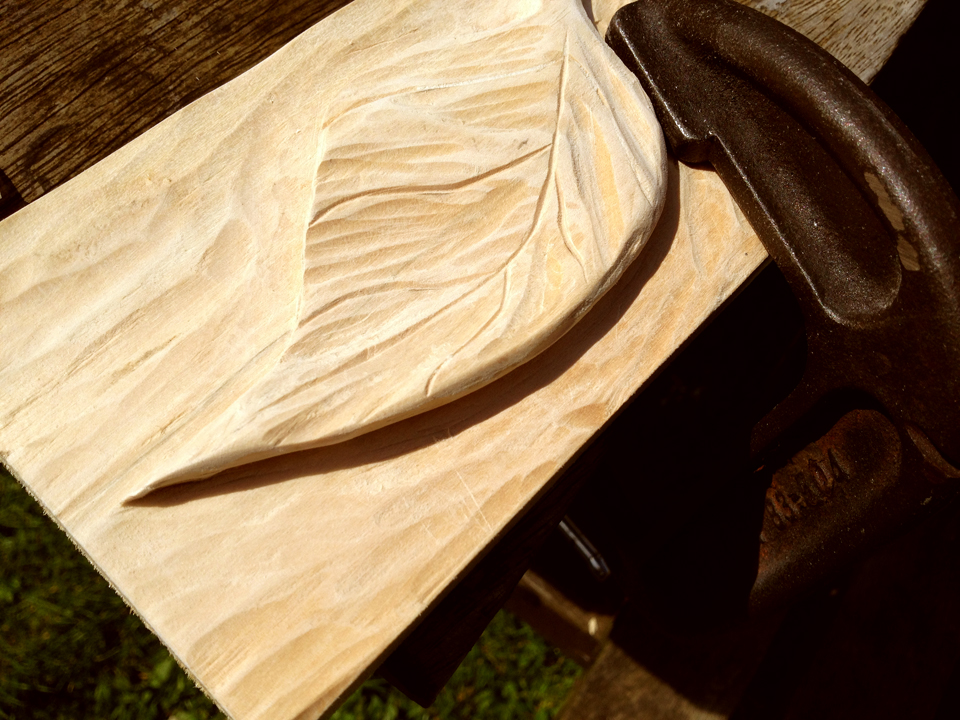
William has given me a piece of maple to have some fun with. I’m looking forward to carving something else now that I’ve got the hang of it! Hope this is a little inspiration for you to try it. It’s not that hard, and it’s very satisfying. 😀 As soon as I wax or oil this carving I’ll take another photo and show you.
Let me know how you do or if you have any other questions.


catherine
that is really impressive – looks like it takes quite a bit of arm muscle to do wood carving – and patience – i love the ‘floating leaf’ effect you’ve managed to create 😀 X
Veronica
Oh boy Catherine, I got all, “there’s no wood I can’t carve!!!” and then I tried that piece of maple William gave me. That’s some wood god’s joke. The stuff is like rock. The lime was so soft you can even carve it without the mallet; just scoop with the chisel, so not too bad at all. 😀
Pamela Smyk Cleary (PSC)
Very cool! And your finished piece is lovely! Is there nothing you can’t do??
Veronica
Thank you so much Pamela…lol…actually, stone masonry isn’t for me. Too hard on my hands. One day I’ll show you my pathetic attempt. 😀
daryledelstein
the high school i attended was a ‘special’ school … in nyc we have some school where you must apply, take entrance exams or in my case prepare/present a portfolio of your art … after admission we learned many new ways to make/express our art and wood carving/lino carving were taught … i occasionally still make prints from one of the wood cuts i did .. i will give you my wood cutting tools if i can remember where they are …
Veronica
Oh wow! Hey, take a photo, I’d love to see the print. 😀 Tried carving into the maple…ha ha ha ha…I think the wood gods are having a joke. The stuff is harder than rock! Am using R’s saw, angle grinder and router to make a wooden spoon.
tinyWOOLF
okay, now that is WOW! i’m just scared of those tools, really. and of myself if ever needed to handle these… great result though… n?
vastlycurious.com
I am green with envy! Grindling Gibbons is my hero also and I collect Victorian carved pieces. The leaf is wonderful, what will you do with it? Stain and Oil it, frame it? I KNOW I would hurt myself being over zealous with the tools 🙂 Congratulations!
Nancy Juliet
Great Post Veronica! This is really impressive. I have learned a lot from this article. The leaf is wonderful.